
Yes it is true. I want to make journals out of every collage I make. Someone stop me!
No don't :) I am having too much fun.
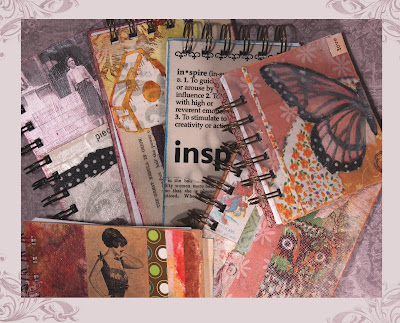
I thought I would show you how simple this machine is to use. The process can be fitted into spurts of work here and there, which is the perfect activity for a busy momma:
Step 1
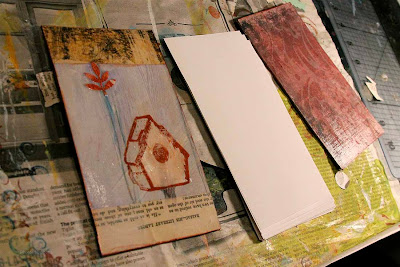
Create the journal cover, back and inner pages. Here I collaged a piece of cardboard with paint, stamps, paper from an old book, a punched leaf, pastels and 10 layers of varnish. The inside and back have scrapbook paper glue on and varnished. The inner pages are the same size as the cover pages – I simply cut up a small stack of printer paper.
Step 2
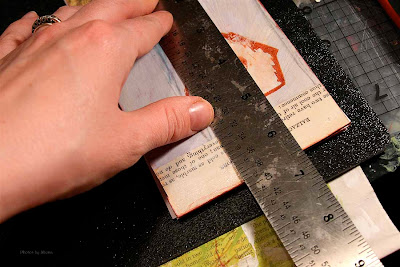
Measure the side you want your journal to be bound on. Mine is 6 ½ inches long.
Step 3
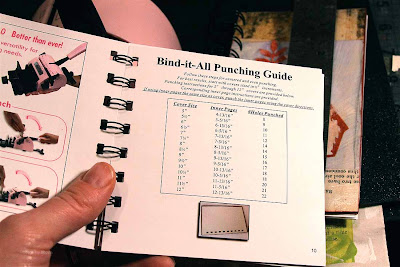
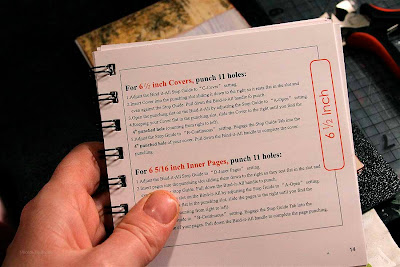
Consult your Bind It guide book on how many holes to punch and follow their instructions:
Step 4
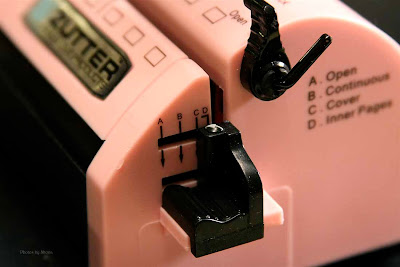
Set your Bind it dial to C
Step 5
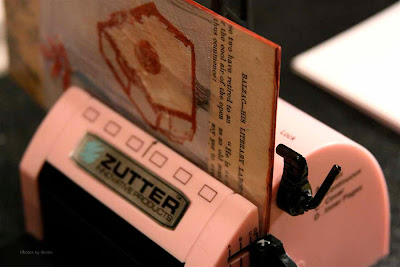
Put the journal cover in to the machine and pull have the lever to punch the holes. Do the same for the inner sheets and back cover.
Step 6
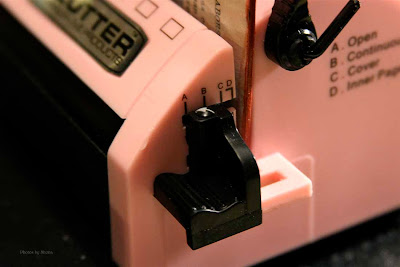
Set your Bind it machine to A.
Step 7
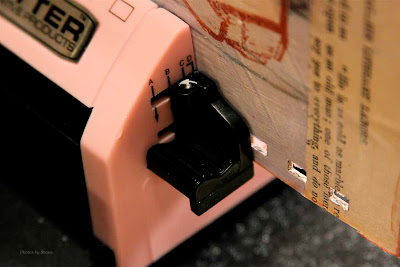
Slide the cover towards you leaving the required number of holes visible (you can find out how many holes to leave by following the guide book for your size journal). Now, set your Bind It dial to B. This pushes a little notch into the hole to keep the book steady so you can punch the remaining holes in the right place. Pull the leaver again punching the remaining holes in the cover. Repeat for the inner pages and back cover. (This sounds more complicated than it is)
Step 8
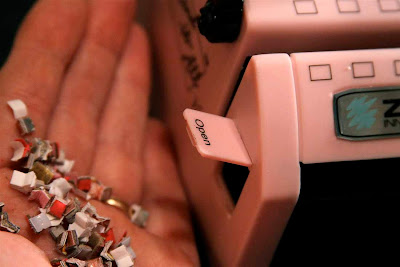
Empty the chamber of the punched paper.
Step 9
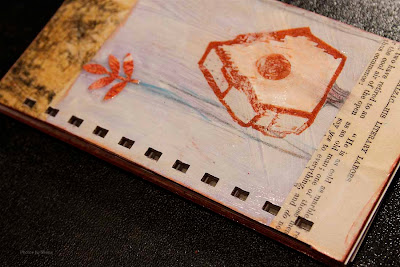
Assemble your journal.
Step 10
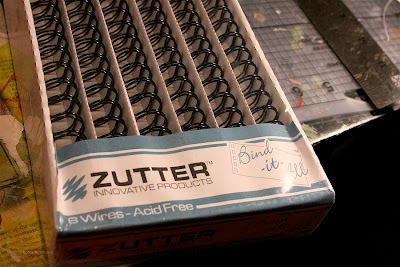
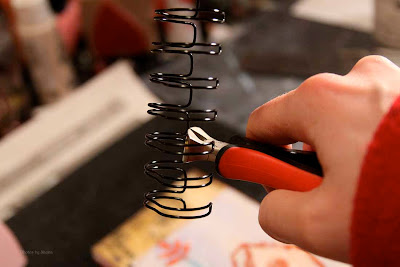
Trim your Bind It wire to the correct number of holes your journal has.
Step 11
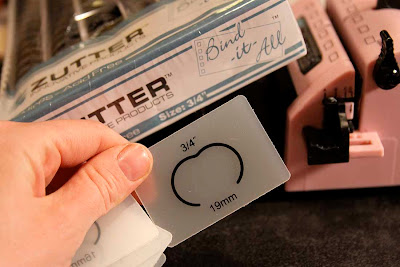
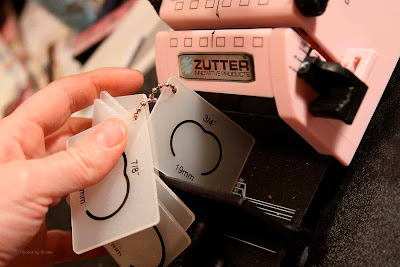
Depending on the size your wire is, place the guide key into the Bind It machine.
Step 12
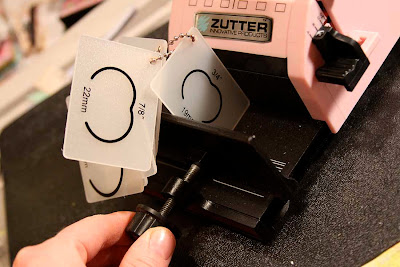
Turn the screw until the guide key fits snuggly in the tray. Remove the guide key.
Step 13
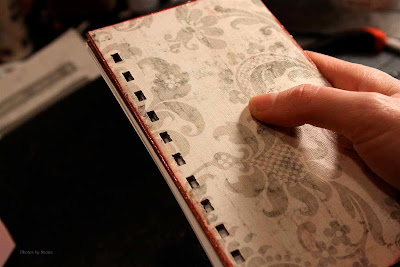
Take your journal and rotate the back cover up onto the front cover.
Step 14
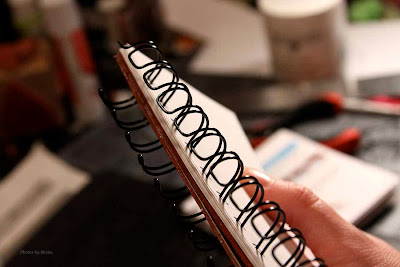
Thread the wires through the holes on the journal from the inner pages through to the cover.
Step 15
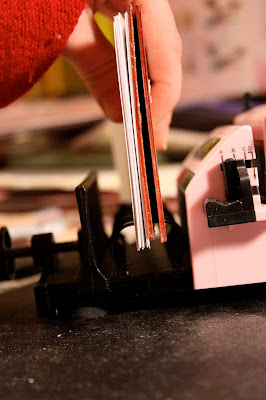
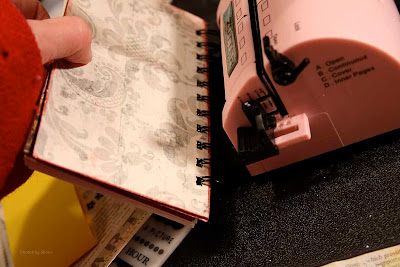
Place the wires open side down into the Bind It tray. Pull the lever down to close the wires. Take your journal out and swing the back cover to the back.
Finished!
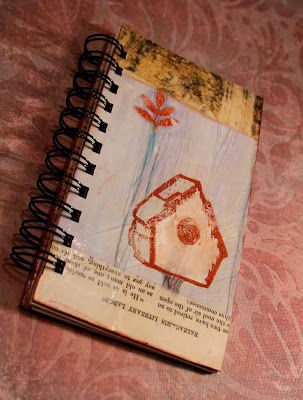
It seems like a whole lot of steps, but once you get the hang of it you can bind a journal in minutes.
I am offering this journal in a new Giveaway that I am participating in – One World One Heart. It starts this Monday January 25th.
As a bonus I am including in this giveaway the birdfeeder stamp that I made from a photo of a bird feeder which my son made and which hangs in my garden! You do not have to be a follower to sign up for that giveaway – just leave a comment to be entered. So check back in on Monday.
``````````````````
On with today's giveaway!
And this week it is......
Lisa of LifeUnity
Congratulations!
Pick your prize from the choices below, these are the three my girls chose for you (click on image to see a larger image) and post it in the comments. I will contact you via email so you can send me, privately, your physical address.
Choice #1 - Mini Journal 7x3 3/4 inches

Choice #2 - Mini Journal 4x5 1/2 inches

Choice #3 - Mini Journal 4x4 inches

For everyone else - Please check back in next Saturday to see if you win something. I will offer a new set of prizes. And thank you for being a part of 'An Artful Life'.
And of course, if you are not listed as following this blog, you are welcome to do so! Join in the fun.
I never realized it could be so easy -thanks for showing us!
ReplyDeleteI adore your journals! The style is the look that I like.....
ReplyDeleteThanks for sharing, Cindi
jchoppes[at]hotmail[dot]com
your journals are beautiful! You should make some with graph paper inside for designers to us... I am always searching for pretty graph paper journals. Nice job!
ReplyDeleteYou certainly make it look simple, Shona! Love your journals!
ReplyDeleteI really like all the journals you made, and I can see that once you own the machine, it would be hard to stop using it!
ReplyDeletemy husband would kill me if i got one ofthese. something else to keep me from doing my housework!
ReplyDeleteYou journals are so cute! We have a machne like this at my school - I may have to dust it off!
ReplyDeleteLove your journal :)
ReplyDeleteI have the blue machine but the pink looks nicer :)
Those are adorable! :) Love the butterfly one the best. What a great tool!
ReplyDeleteHave you ever thought of opening an Etsy shop to sell your creations?
Beautiful!!
Genevieve
The journals are beautiful! And, loved the tutorial on how to make them!!!
ReplyDeleteHow nice it would be to have one of those. I love your journal. Whoever wins this, will be very lucky indeed.
ReplyDeleteThank you all for visiting and for the kind comments :) it makes it worth it to me to do these knowing that they are helpful/interesting to you.
ReplyDeleteEllyn, graphic paper is a great idea
Jessica Jo, I hear you and I identify with your husband! Art can take up a lot of time and sometimes house chores get forgotten, then I end up doing things in a whirlwind just before a friend comes over or my husband is having a meeting in the living room or something!
Finding the balance between all the things we want to do is why I wrote my book!
Genevieve, the thought of doing an Etsy store has brushed by me before, but I never seem to have the time to develop a legitimate product line. Perhaps one day!
YEA! I am so excited...not only to have won, but for the new tool that I simply must find a way to get now. :)
ReplyDeleteThe journals are gorgeous...I'm going to have a hard time choosing! (I'll be in touch asap!)
Thank you again for such a wonderful opportunity and a beautiful blog.
Ok...something about choice #2 is calling to me. I don't know what it is, but since I am finding beauty in all of them and am not going to pick logically, I'm going with my gut.
ReplyDeleteThank you thank you thank you!!
Wow, your journals are awesome and I love this machine! I's a great way to bind my sketch books! Thanks for the step by step tutorial! I might just get it!
ReplyDeleteyour little journals are adorable...xxx
ReplyDeleteThey're all so pretty! And great tutorial too!
ReplyDeleteI just started making my own art journals and love it!! I got my bind it all for Christmas to make mini albums with but now love using it in my altered art and mixed media projects!! You can see the one I've done just yesterday on my blog. Awesome blog, TFS :)
ReplyDeleteloUISE X
I've never seen this machine in action before. It's been a big mystery to me! But now it almost looks like something I could conquer!
ReplyDeleteI can so relate to the "another thing to keep me from doing my housework." I need your book to help me balance it all.
ReplyDeleteGreat tutorial, although it's probably not that confusing once you get a hang of it...it still seems like a lot of steps. Beautiful notebooks, like the butterfly especially. I love One World, One Heart I won one of the giveaways last year:)
ReplyDeleteI can see why you love that little machine. I had no idea you could do stuff like that at home! Thank you for the tutorial! Beth
ReplyDeleteThanks very much for the tutorial!
ReplyDeleteThank you so much for your wonderful tutorial, I really appreciate it! Love your journals, they are beautiful!
ReplyDeleteThanks for the tutorial! Think I will look for one of these machines :]
ReplyDeleteThanks for sharing... I thought this was a difficult thing to do. Now it´s not so intimidating!
ReplyDeleteHow cool, when you see them it seems like it would be so hard, but oh no it's not! A lot of steps makes for one beautiful piece at the end!!!
ReplyDeleteAwesome tutorial!I think I could get hookes on a little machine like that one..tell mwe where oh where can I get one?If you could email me @ carly4peace@gmail.com and let me know I would be grateful!I'm so glad I found your blog through OWOH!
ReplyDeleteThanks!
I have been trying to find just that type of machine. Nothing in the stationary stores did quite what I wanted or bound for metal coils. (Or were less than 150!) Thank you so much for this direction!
ReplyDelete